
들어가며

Kubernetess 환경에서 PVC로 Storage를 만들어 관리한다면 백업(스냅샷)을 해야 하는 상황이 발생할 수 있고, 백업을 주기적으로 생성해야 하는 상황이 생길 수도 있는데요. 이를 위해 Kubernetes에서는 VolumeSnapshot을 통해 PVC의 특정 시점 데이터를 백업할 수 있고, SnapScheduler를 사용하면 주기적으로 자동으로 백업할 수도 있습니다.
VolumeSnapshot
VolumeSnapshot은 Kubernetes에서 PersistentVolumeClaim(PVC)의 특정 시점의 상태를 캡처하는 기능으로, 이를 통해 데이터를 백업하거나 복구할 수 있습니다.
VolumeSnapshotClass
다양한 스토리지 백엔드에 대한 스냅샷 생성 정책을 정의합니다.
apiVersion: snapshot.storage.k8s.io/v1
kind: VolumeSnapshotClass
metadata:
  name: csi-hostpath-snapclass
driver: csi.example.com
위와 같이 사용할 CSI 드라이버를 명시해 줍니다. 또한 deletionPolicy을 설정할 수 있는데, Delete라면 VolumeSnapshot을 삭제할 때 같이 삭제되고, Retain이라면 유지됩니다.(기본값은 delete)
VolumeSnapshot
특정 PVC의 스냅샷을 생성하는 리소스입니다.
apiVersion: snapshot.storage.k8s.io/v1
kind: VolumeSnapshot
metadata:
  name: new-snapshot-test
spec:
  volumeSnapshotClassName: csi-hostpath-snapclass
  source:
    persistentVolumeClaimName: pvc-test
위에서 생성한 volumeSnapshotClassName을 적고, 어떤 PVC를 snapshot 할 건지 명시해 줍니다.
VolumeSnapshotContent
apiVersion: snapshot.storage.k8s.io/v1
kind: VolumeSnapshotContent
metadata:
  name: snapcontent-72d9a349-aacd-42d2-a240-d775650d2455
spec:
  deletionPolicy: Delete
  driver: hostpath.csi.k8s.io
  source:
    volumeHandle: ee0cfb94-f8d4-11e9-b2d8-0242ac110002
  sourceVolumeMode: Filesystem
  volumeSnapshotClassName: csi-hostpath-snapclass
  volumeSnapshotRef:
    name: new-snapshot-test
    namespace: default
    uid: 72d9a349-aacd-42d2-a240-d775650d2455
snapscheduler
https://backube.github.io/snapscheduler/
Documentation
Take scheduled snapshots of your Kubernetes persistent volumes.
backube.github.io
SnapScheduler는 PV의 스냅샷을 정기적으로 자동 생성하고, 보존 정책을 관리할 수 있도록 도와주는 오픈소스 프로젝트입니다. Cron 표현식을 사용하여 스냅샷 생성 주기를 설정할 수 있고, 최대 보존 개수나 보존 기간과 같은 보존 정책을 설정할 수 있습니다.
apiVersion: snapscheduler.backube/v1
kind: SnapshotSchedule
metadata:
  name: hourly-schedule
  namespace: your-namespace
spec:
  claimSelector:
    matchLabels:
      app: your-app
  schedule: "0 * * * *"  # 매시간 정각에 실행
  retention:
    maxCount: 10  # 최대 10개의 스냅샷 보존
  snapshotTemplate:
    snapshotClassName: your-snapshot-class
위와 같이 SnapScheduler yaml 파일을 생성하여 schedue, retention, template 등을 설정하여 정기적으로 snapshot을 생성할 수 있습니다.
실습
https://lakescript.net/entry/AEWS-3-1-Amazon-EKS-Storage#amazon-ebs
[AEWS] 3-1. Amazon EKS - Storage (EBS, EFS)
사전 준비 더보기 위와 같이 사전 준비가 필요합니다. 저번 글에서 설명했듯이, EKS를 배포하기 위한 VPC를 생성하고, Public Subnet, Private Subnet을 생성합니다. 그 후 EKS Cluster에 접근하기 위한 bastion E
lakescript.net
해당 실습은 Amazon EBS CSI driver와 gp3 storage class가 설치되었다는 가정하게 진행됩니다. 위의 링크 참고하여서 먼저 설치 및 설정 진행하신 후 실습을 따라와 주세요.
설치
VolumeSnapshot, VolumeSnapshotContent, VolumeSnapshotClass는 API가 아닌, CRDs이기 때문에 먼저 CRD를 설치해줘야 합니다.
Snapshot CRDs 설치
kubectl apply -f https://raw.githubusercontent.com/kubernetes-csi/external-snapshotter/master/client/config/crd/snapshot.storage.k8s.io_volumesnapshots.yaml
kubectl apply -f https://raw.githubusercontent.com/kubernetes-csi/external-snapshotter/master/client/config/crd/snapshot.storage.k8s.io_volumesnapshotclasses.yaml
kubectl apply -f https://raw.githubusercontent.com/kubernetes-csi/external-snapshotter/master/client/config/crd/snapshot.storage.k8s.io_volumesnapshotcontents.yaml
CRD 설치 확인
kubectl get crd | grep snapshot
설치 후 crd를 조회해 보겠습니다.

kubectl api-resources | grep snapshot
이제 snapshot 관련 api를 사용할 수 있는지 위 명령어를 통해 api resources를 조회해 보겠습니다.

volumesnapshotclasses는 vsclass, vsclasses로 축약해서 사용할 수 있고, volumesnapshotcontents는 vsc, vscs로 축약되고 마지막으로 volumesnapts은 vs로 축약해서 사용할 수 있습니다.
Snapshot Controller 설치
kubectl apply -f https://raw.githubusercontent.com/kubernetes-csi/external-snapshotter/master/deploy/kubernetes/snapshot-controller/rbac-snapshot-controller.yaml
kubectl apply -f https://raw.githubusercontent.com/kubernetes-csi/external-snapshotter/master/deploy/kubernetes/snapshot-controller/setup-snapshot-controller.yaml
이제 snaptshot controller를 설치하도록 하겠습니다.
Snapshot Controller 설치 확인
kubectl get deploy -n kube-system snapshot-controller
kubectl get pod -n kube-system
해당 controller는 kube-system에 배포된 것을 확인하실 수 있습니다.

Snapshotclass 설치
kubectl apply -f https://raw.githubusercontent.com/kubernetes-sigs/aws-ebs-csi-driver/master/examples/kubernetes/snapshot/manifests/classes/snapshotclass.yaml
위의 명령어로 snapshotclass를 설치합니다.
Snapshotclass 설치 확인
kubectl get volumesnapshotclasses
설치 후 volumesnapshotclasses를 조회해 보면 아래와 같이 조회가 되는 것을 확인하실 수 있습니다.

kubectl describe vsclass
volumesnapshotclass의 명세를 살펴보겠습니다.

Deletion Policy가 기본값인 Delete로 설정되어 있고, Driver는 ebs.csi.aws.com 을 사용하고 있는 것을 확인하실 수 있습니다.
다른 CSI Driver를 사용해야 한다면?
https://github.com/kubernetes-csi/external-snapshotter
GitHub - kubernetes-csi/external-snapshotter: Sidecar container that watches Kubernetes Snapshot CRD objects and triggers Create
Sidecar container that watches Kubernetes Snapshot CRD objects and triggers CreateSnapshot/DeleteSnapshot against a CSI endpoint. - kubernetes-csi/external-snapshotter
github.com
다른 CSI 드라이버를 사용하고 싶은 경우 위의 링크를 참고해서 설치하시면 됩니다.
Snapshot 생성
테스트 PVC 생성
apiVersion: v1
kind: PersistentVolumeClaim
metadata:
  name: ebs-claim
spec:
  accessModes:
    - ReadWriteOnce
  resources:
    requests:
      storage: 4Gi
  storageClassName: gp3
VolumeSnapshot 테스트를 위해 PVC를 생성합니다.
PVC 생성 확인
kubectl get pvc

현재는 아직 PVC를 사용하는 Pod가 없기에 Pending 상태인 것을 확인하실 수 있습니다.
Pod 생성
apiVersion: v1
kind: Pod
metadata:
  name: app
spec:
  terminationGracePeriodSeconds: 3
  containers:
  - name: app
    image: centos
    command: ["/bin/sh"]
    args: ["-c", "while true; do echo \$(date -u) >> /data/out.txt; sleep 5; done"]
    volumeMounts:
    - name: persistent-storage
      mountPath: /data
  volumes:
  - name: persistent-storage
    persistentVolumeClaim:
      claimName: ebs-claim
무한 루프를 돌면서 현재 UTC 시간을 /data/out.txt 파일에 5초마다 기록하는 Pod를 생성하는데, 위에서 생성한 PVC를 연결합니다.
pod 생성 확인 및 파일 내용 추가 저장 확인
kubectl get po
pod가 정상적으로 배포되었는지 pod 목록을 조회해 보겠습니다.

app pod가 정상적으로 실행 중인 것을 확인하실 수 있습니다.
kubectl exec app -- tail -f /data/out.txt
app pod로 접근하여 /data/out.txt 경로에 파일을 확인해 보겠습니다.

command 실행한 것이 정상적으로 동작하는 것을 확인하실 수 있습니다.
AWS EBS Snapshot 조회
volumesnapshot을 생성하기 전에 AWS Console에 접근해서 현재 생성되어 있는 EBS Volumesnapshot이 있는지 확인해 보겠습니다.

현재 아직 생성된 volumesnapshot이 존재하지 않습니다.
aws ec2 describe-snapshots --owner-ids self
위 명령어로도 현재 생성되어 있는 volumesnapshot을 조회할 수 있습니다.

마찬가지로 존재하지 않습니다.
VolumeSnapshot 생성
apiVersion: snapshot.storage.k8s.io/v1
kind: VolumeSnapshot
metadata:
  name: ebs-volume-snapshot
spec:
  volumeSnapshotClassName: csi-aws-vsc
  source:
    persistentVolumeClaimName: ebs-claim
위의 VolumeSnapshot yaml 파일을 생성합니다.
kubectl apply -f app-vss.yaml
그 후 바로 실행합니다.
VolumeSnapshot 확인
kubectl get volumesnapshot, volumesnapshotcontents
volumesnapshot과 volumeshotcontent을 조회해 보겠습니다.

정상적으로 snapshot이 생성된 것을 확인하실 수 있습니다.
AWS EBS Snapshot 확인
위에서 확인한 바와 같이 AWS Console에 접근하여 EBS Snapshot을 확인해 보겠습니다.

정상적으로 생성된 것을 확인하실 수 있습니다.
aws ec2 describe-snapshots --owner-ids self | jq
aws cli로도 확인이 가능하니 참고해 주세요!
Snapshot으로 복원
Pod 및 PVC 제거
kubectl delete pod app && kubectl delete pvc ebs-claim
생성해 놓은 VolumeSnapshot으로 복원해 보기 위해 Pod와 PVC를 제거해 보겠습니다.
Pod, PVC, VolumeSnapshot 확인

Pod와 PVC는 삭제했기에 현재 아무것도 없고, VolumeSnapshot만 조회되는 것을 확인하실 수 있습니다.
PVC 생성
apiVersion: v1
kind: PersistentVolumeClaim
metadata:
  name: ebs-snapshot-restored-claim
spec:
  storageClassName: gp3
  accessModes:
    - ReadWriteOnce
  resources:
    requests:
      storage: 4Gi
  dataSource:
    apiGroup: snapshot.storage.k8s.io
    kind: VolumeSnapshot
    name: ebs-volume-snapshot
dataSource부분에 생성해 놓은 VolumeSnapshot 정보를 적어두면 복원이 가능합니다. 간단하게 apiGroup과 kind, name만 적으면 됩니다.
Pod 생성
apiVersion: v1
kind: Pod
metadata:
  name: app
spec:
  terminationGracePeriodSeconds: 3
  containers:
  - name: app
    image: centos
    command: ["/bin/sh"]
    args: ["-c", "while true; do echo \$(date -u) >> /data/out.txt; sleep 5; done"]
    volumeMounts:
    - name: persistent-storage
      mountPath: /data
  volumes:
  - name: persistent-storage
    persistentVolumeClaim:
      claimName: ebs-snapshot-restored-claim
위에서 생성했던 pod yaml과는 다르게 새롭게 생성한 PVC 이름(ebs-snapshot-restored-claim)을 적어서 배포합니다.
복원된 PVC로부터 이전 파일 내용 유지 및 새로 추가로 저장되는지 확인
kubectl exec app -- tail -f /data/out.txt
위의 명령어로 app pod에 접근해서 /data/out.txt 파일을 확인해 보겠습니다.

복원된 PVC에 저장된 데이터 및 새롭게 복원 후 쓰여진 데이터를 확인하실 수 있습니다.
SnapScheduler를 통한 정기적으로 자동 생성
설치
helm repo add backube https://backube.github.io/helm-charts/
SnapshotScheduler를 설정하기 위해 설치를 진행합니다. helm을 통해 쉽게 설치할 수 있습니다.
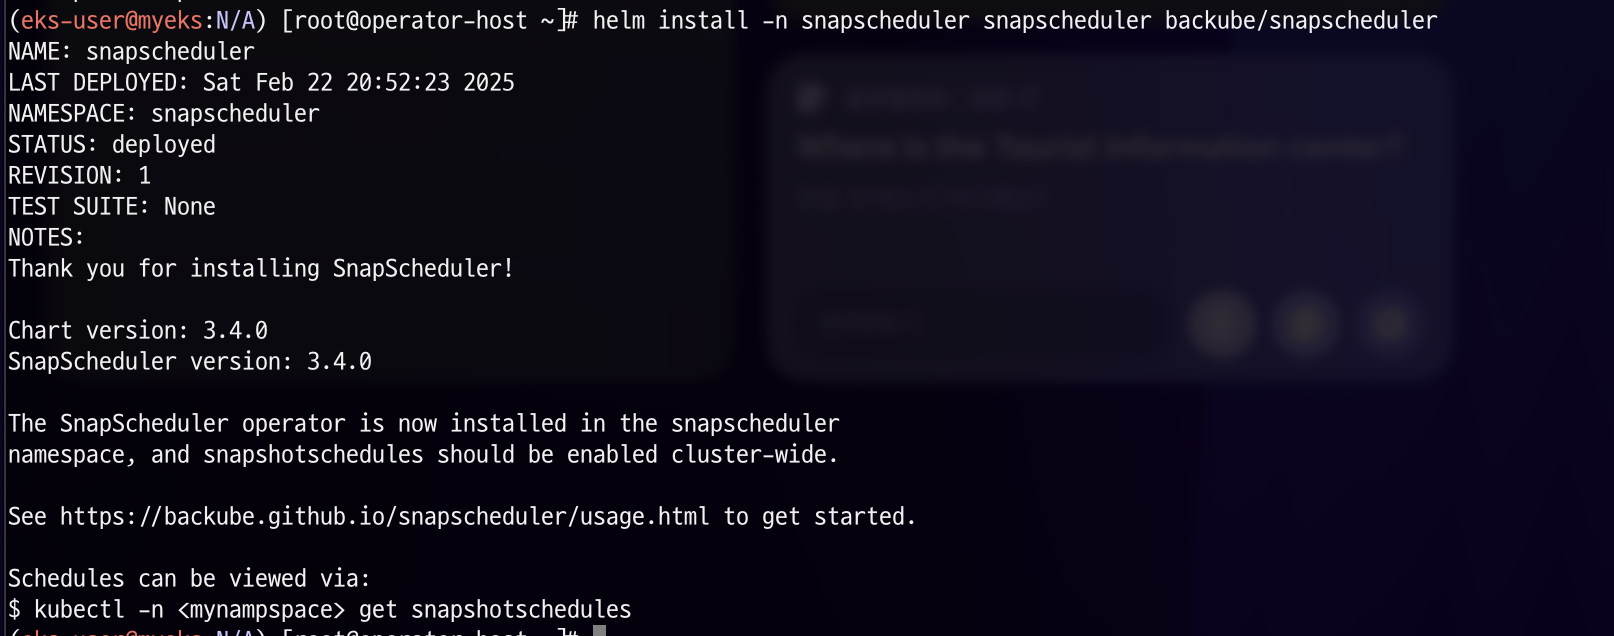
kubectl create namespace snapscheduler
helm install -n snapscheduler snapscheduler backube/snapscheduler
snapscheduelr를 위한 namespace를 생성한 후 helm을 통해 배포하도록 합니다.
기존 PVC에 label 부여
kubectl get pvc --show-labels
PVC의 label을 설정해 놓고, snapscheduler에서 해당 label만 선택하여 생성하게 되면 특정 label의 PVC만 정기적으로 자동 생성하게 됩니다. (snapscheduler에서 label을 선택하지 않는다면 namespace 전체의 PVC의 snapshot이 생성되게 됩니다.)
먼저 생성되어 있는 PVC에 label 까지조회해 보겠습니다.

현재 생성되어있는 PVC에는 label이 설정되어있지 않네요.
kubectl label pvc ebs-snapshot-restored-claim dedicated=5m
위의 명령어를 통해 label을 설정한 후 다시 조회해보겠습니다.

설정한 label이 잘 보이는 것을 확인하실 수 있습니다.
Sanpscheduler 생성
---
apiVersion: snapscheduler.backube/v1
kind: SnapshotSchedule
metadata:
  name: snapscheduler-5m
  namespace: default
spec:
  retention:
    expires: "720h"
    maxCount: 3
  schedule: "*/3 * * * *"
  claimSelector:
    matchLabels:
      dedicated: 5m
  snapshotTemplate:
    labels:
      environment: dev
    snapshotClassName: csi-aws-vsc
위와 같이 간단하게 snapscheduler yaml 파일을 생성해 보도록 하겠습니다. dedicated: 5m이라는 label을 가진 PVC들을 대상으로 진행되며, 생성된 지 720시간이나 3대 이상이 되면 삭제되게 retention 규칙을 설정했고, environment: dev 라는 label이 붙은 snapshot이 3분마다 생성됩니다.
Sanpscheduler 확인
kubectl get snapshotschedules
생성된 snapscheduler를 확인해 보겠습니다.

설정한 대로 잘 생성된 것을 확인하실 수 있습니다. 여기서 다음 snapshot은 언제 생성되는지 NEXT SNAPSHOT 으로 확인하실 수 있습니다.
생성된 snapshot 확인
kubectl get vs
설정해 놓은 시간이 지난 후 volumesnapshot을 확인해 보겠습니다.

snapscheduler을 정기적으로 자동 생성된 snapshot이 존재하는 것을 확인하실 수 있습니다.

snapshot이 생성되었으니 위와 같이 NEXT SNAPSHOT 의 시간이 변경되었습니다.

해당 시간에 snapshot을 확인해 보면 역시 아래와 같이 정상적으로 생성된 것을 확인하실 수 있습니다.

또한, 설정한 바와 같이 최대 3개 이상으로 생성되지 않습니다.

마지막으로 AWS Console에서도 확인해보면 생성된 EBS Volume Snapshot이 정상적으로 보여지는 것을 확인하실 수 있습니다.
참고
https://backube.github.io/snapscheduler/
Documentation
Take scheduled snapshots of your Kubernetes persistent volumes.
backube.github.io
https://kubernetes.io/docs/concepts/storage/volume-snapshots/
Volume Snapshots
In Kubernetes, a VolumeSnapshot represents a snapshot of a volume on a storage system. This document assumes that you are already familiar with Kubernetes persistent volumes. Introduction Similar to how API resources PersistentVolume and PersistentVolumeCl
kubernetes.io
Using Amazon EBS snapshots for persistent storage with your Amazon EKS cluster by leveraging add-ons | Amazon Web Services
Originally, containers were a great fit for stateless applications. However, for many use cases there is a need for persistent storage, without which stateful workloads aren’t possible. Kubernetes first introduced support for stateful workloads with in-t
aws.amazon.com
'스터디 이야기 > 25' AWS EKS' 카테고리의 다른 글
| OpenTelemetry를 활용한 이슈 분석 및 해결 (feat. OTel Demo) (0) | 2025.03.01 |
|---|---|
| 모니터링 vs 관측가능성, 그리고 SLI·SLO·SLA (0) | 2025.02.28 |
| Kubestr를 활용한 Kubernetes Storage 성능 테스트 (0) | 2025.02.19 |
| Kubernetes DNS: FQDN과 ndots의 동작 방식 정리 (0) | 2025.02.14 |


